


Set up an Action
SEND INFO TO MOVEMENT TO GIVE A CLIENT PRODUCT ACCESS
In this short guide, we will walk you through how to set up an action in Zapier.
USE CASE:
A client or customer purchases a product on one of your other platforms (E.G. Shopify or Teachable), and you want to give them access to something in your Movement app.
Steps to Complete:
💡 We will use Teachable as an example in this guide, but you can perform the same steps for any supported Zapier integration.
Part 1: Set up a Trigger
Login to your Zapier account and click ‘Create Zap’ - the big orange button.
Set up Your Trigger
Choose Your App — We’ll select Teachable from the pop up.
Choose an Event
This is completely up to you and what event you want to trigger the action for in Movement.
For our example, we’ll use ‘New Enrollment’ - for when a user enrols in a new course.
Click continue
Choose your Teachable account, or login in to your Teachable account.
Test the trigger.
💡 Need more assistance setting up a trigger?
View Zapier’s own guide below.
Part 2 : Set up an Action
After you set up your trigger, the next step is to add an action to your Zap.
An “action” is an event your Zap performs when your trigger event occurs.
For this example, the action is what happens in Movement once a user has enrolled in a new course in Teachable.
Once your trigger is set up, press the + button to add your action below.
For the app event, you’ll search ‘Movement’ in the search box and select it.
Choose an Event. For this example, you will select ‘Create User’.
Click continue.
Next, you’ll select your Movement account from the drop down, or you will need to connect it.
Click continue.
Full Name & Email are required in this section, so select that from the drop down - you can fill this with data from your trigger.
Lastly, if you wish, you can add a Product ID.
Doing so will automatically give the user access to this product in Movement.
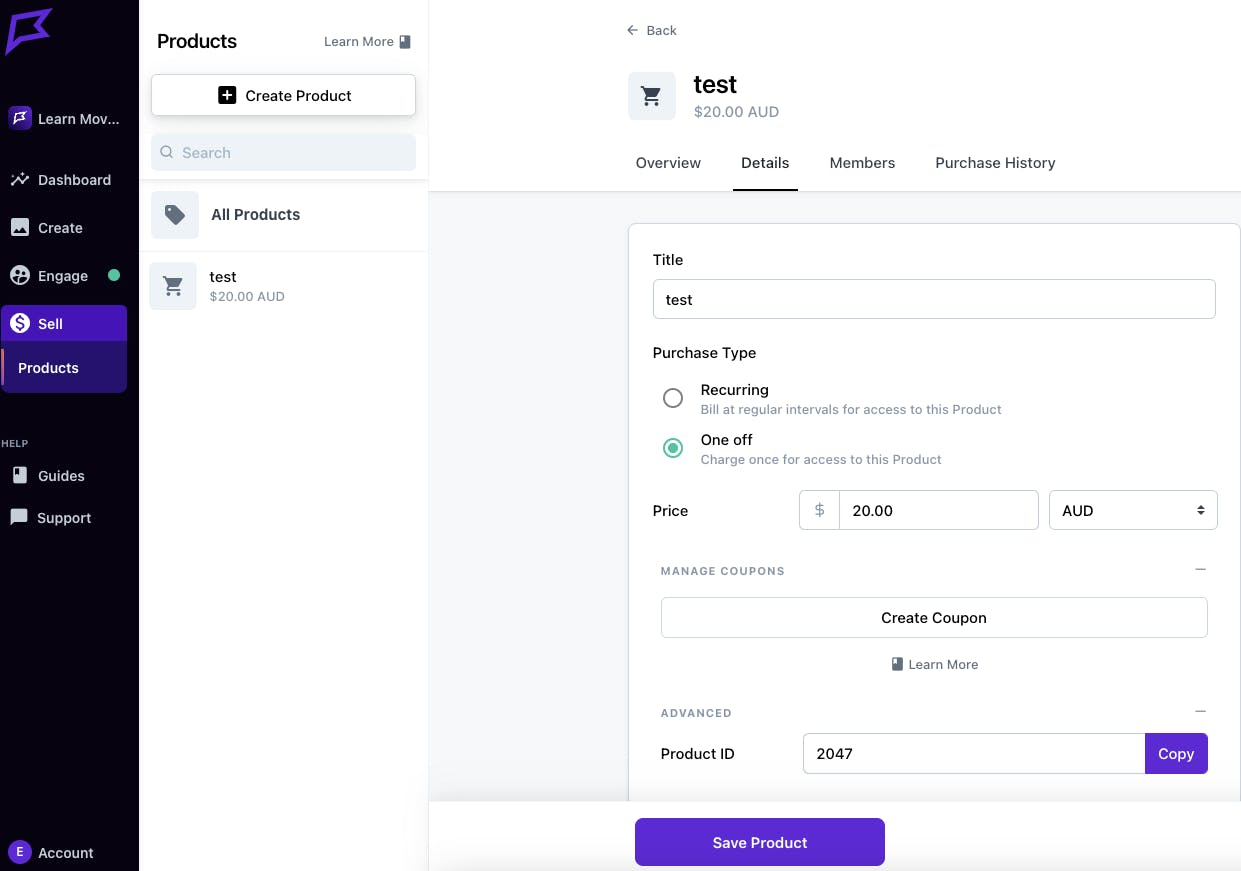
You can obtain this from Movement. Navigate to Sell > Products in the black lefthand sidebar. Select any product, switch from the ‘Overview’ tab at the top to ‘Details’. Expand the ‘Advanced’ section on this page and you can copy the Product ID from here.Screenshot below for context:
Paste the Product ID into Zapier and click continue.
Test the action and you’re done!
💡 Need more assistance setting up an action?
View Zapier’s own guide below.
NOTE:
If you are giving access to multiple products, you will need to set this up for each product - it can only set up one product at a time.